“Is this any good for a stock photo?” said Rachael, as she produced a large watermelon out of a shopping bag. On this latest shoot, prompted by Rachael’s fruity purchase, I set about trying to make slices of watermelon look interesting. It proved to be quite a challenge and I learnt a few things about food photography along the way.
This is how a typical day seems to go in the Maguire household. I charge around moodily, trying to emulate legendary documentary photographers like Don McCullin and Sam Abell. Then Rachael comes along and suggests I take a photo of something that will actually sell.
The reality is that there is a big market for photos of everyday things. These are the things that people write about on their blogs, or try to sell to their customers. There just isn’t the same market for photos of a waterfall in Cornwall, or the Bedouin people of North Africa.
Let’s be clear here: I’m NOT a food photographer. There are much better photographers out there who specialise in this sort of thing. But I know a thing or two about other genres of photography. The same principles always apply, whether photographing landscapes, people, or a plate of food.
Subject. Lighting. Composition.
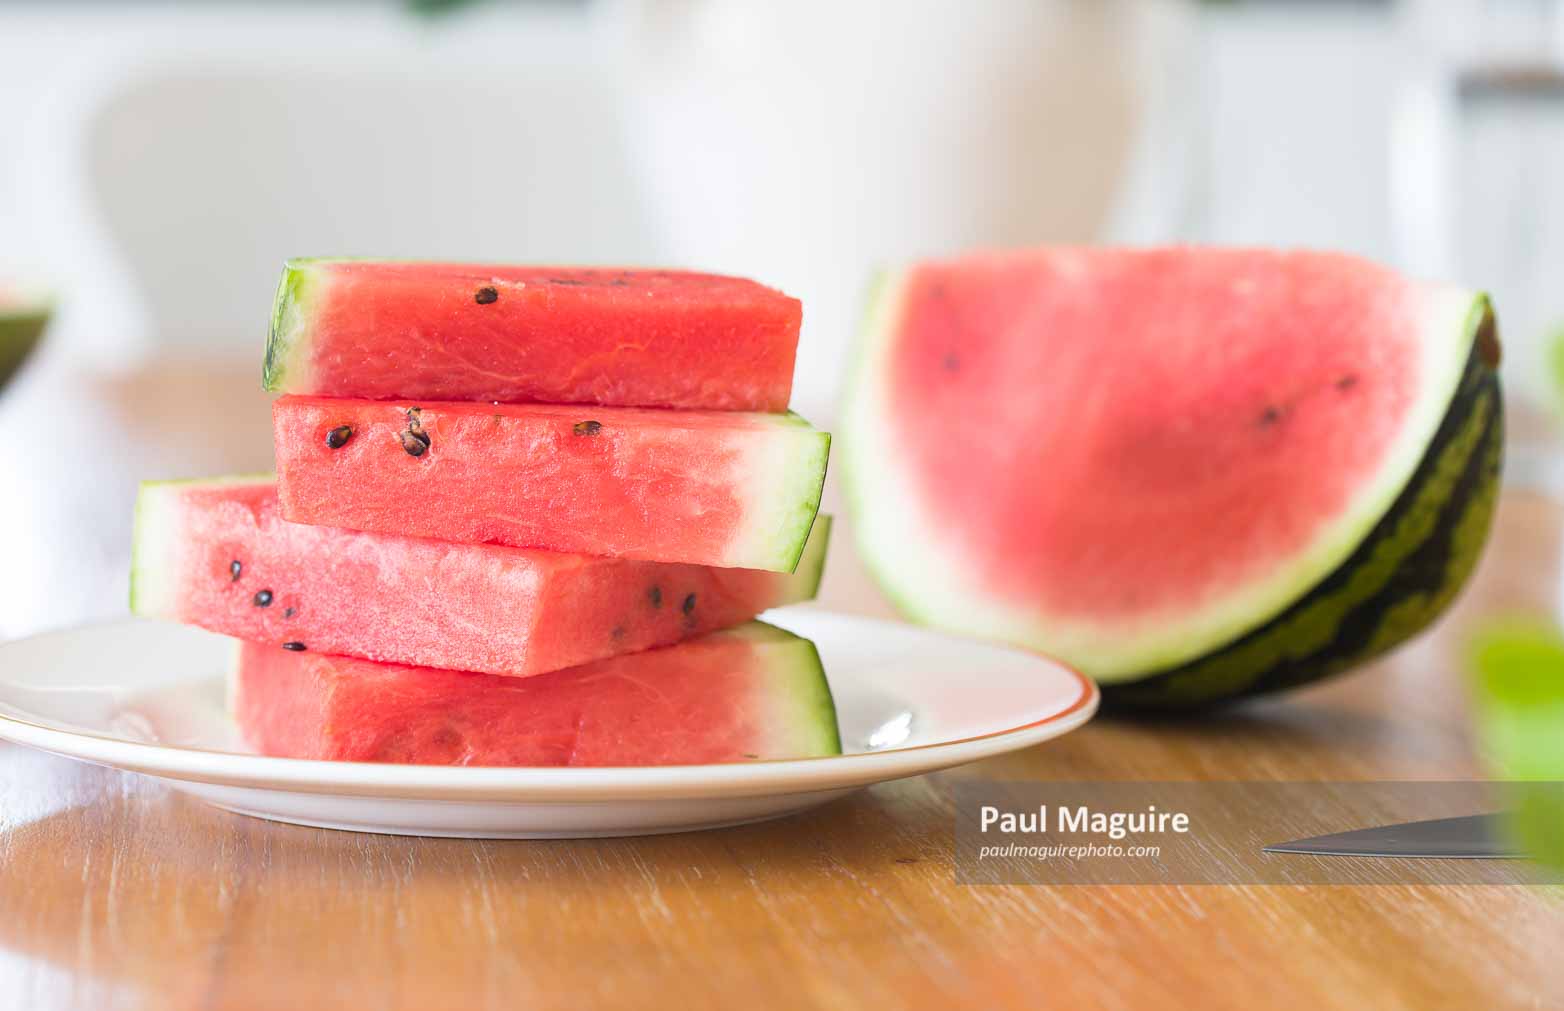
The first few shots I took were bad. I mean, really bad. Poor lighting. A wonky looking watermelon. Dull composition. I almost gave up. But I persevered, moved around, added a few props, and after tweaking a few things I had some photos I was happy with.
Along the way, I certainly learnt a few valuable lessons, and I’d like to share them with you here along with some useful pointers.
Prepare a shooting list
If I’m shooting travel and landscape photography, I always go prepared with a shooting list. This may be nothing more than a list of places to visit, or it may be some carefully planned and pre-visualised frames that I want to capture.
The same applies to food photography (and any still life.) Having a shooting list really takes the pressure off when struggling with tripod legs and aperture values. A shooting list doesn’t have to be detailed: just a few touch points will suffice. I like to let my creative juices go from there.
Having a shooting list also saves you from having that awful feeling, when you clear up your gear, eat the watermelon, and THEN realise that you have forgotten a crucial shot.
Choose a photogenic subject
I always reach for the macro lens for still life photography, even when shooting something “big” like a watermelon. It’s great for focusing up close and it’s tack sharp. But here’s the thing: imperfections really get magnified. Any bump, scratch or wonky line will leap out at the viewer. I certainly spent more time examining slices of watermelon for their “attractiveness” than I think is really healthy. Then I did it all again when retouching in Photoshop.
Lighting is everything
A watermelon is a bit like a person’s face: you shine a harsh light on it and get some ugly shadows. Direct sunlight and bare flash photography are both a bad recipe for food photos. (Pun not intended.) The same goes with any still life photography.
I have a set of studio lights with soft lighting umbrellas, but they’re stowed away most of the time and I really wasn’t going to drag them out just to shoot a watermelon. Luckily it was a bright, overcast day, and our kitchen is open plan with big windows. So after a bit of trial and error I was able to find a spot with some nice and soft, natural lighting.
When in doubt, polarise
Here’s a thing I didn’t know about watermelons: their skin and flesh are shiny. Cue harsh reflections and blown out highlights, even in soft lighting. I improved things a bit by moving around and adding some white card to reflect light, but it still looked nasty.
This is when a polarising filter comes in handy. They have a huge impact on reflections and really saturate the colours. Attach the filter, twiddle it around to taste, job done.
Add props
When I first started out in stock photography, everything was isolated against a white background. Subject and lighting was really all that mattered: no need to think about “dressing” a scene. Today, photo buyers are more discerning, and that means getting creative with some props.
Gather up some related objects and try arranging the scene. If an area of the photo looks boring then try putting something into it.
Just as important as adding props is to remove any clutter. Sometimes less is more. Add or remove things till the photo looks balanced. Just do whatever works.
Add depth and texture
Another useful trick is to think like a landscape photographer. Every photo has a foreground, mid-ground and background. By adding props into the foreground, and moving around to change the background, you can add depth and interest to a photo.
Something else I’ve learnt is that it matters what lies just outside the frame. You might not be able to see it, but a prop placed strategically just outside the frame will effect the lighting, adding some extra light and shade to an otherwise flat scene.
Experiment
Even a simple scene has endless possibilities. Try different props. Move the main subject around. Stick it on a colourful plate. Try some yellow card. The only limit is your imagination. Just remember your shooting list before wandering too far off piste.
Summary
Hopefully this article has given you some ideas about how to shoot food photos, but these ideas apply equally well to any genre. I find every skill learnt can be applied again in the most unexpected moments. So perhaps the best advice of all is to keep shooting and exploring new ideas, techniques and genres.